Step by Step: How to put gears on the bike?
Admin
July 18, 2024
656 words
3 minutes
Unless you choose to use a “single speed” bike to move and adjust the speed of a road bike or a mountain bike to the terrain you’ll be riding on during your tours with Bike Tours Portugal, it’s essential that you know how to shift gears.
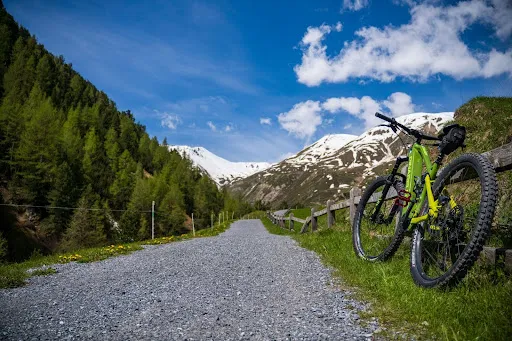
To make it easier for you to shift gears, today we’re going to leave road bikes and e-bikes in the garage and focus solely and exclusively on mountain bikes, ideal for rides on routes that mix hills, forest and road.
However, let’s start by introducing you to the gear components of this type of bike.
Bicycle gear components
Although bicycles are fairly simple means of transportation, they are made up of a number of components.
In the case of gearboxes, the most common feature the following components:
• Gear shifters: while the right-hand shifter is responsible for changing rear gears (on the cassette), the left-hand shifter deals with changing front gears (plates).
It should be noted that these two levers are mostly located on the handlebars.
• Derailleurs: front and rear;
• Steel cables and stanchion protectors;
• Platters
• Cassete;
• Chain.
Bike gears: how do they work?
Having looked at the components of a mountain bike’s shifting system, it’s time to find out how the gears work.
As we’ve mentioned, on the handlebars we find the two levers responsible for shifting gears, which in turn have one or two levers.
When we move one of these levers, we are pulling or releasing a metal cable that either pulls or releases the rear/front derailleur to raise or lower the chainrings or sprocket.
If the bike is equipped with electronic shifting, which is becoming increasingly common, the moment you press the buttons on the levers, an electrical signal will be sent to activate the rear or front derailleur.
How do you find out how many gears your bike has?
To find out how many gears your bike has, it’s important to bear this in mind: each gear is the result of the combination of the number of teeth on the chainring and the number of teeth on the sprocket.
Nowadays, mountain bikes usually come with one or two plates and a sprocket with between 10 and 12 gears, which, when you multiply the number of plates by the number of gears on the sprocket, gives you between 11 and 24 gears depending on the combination on your bike.
For example, if your chainring has between 34 and 50 teeth and the cassette has between 11 and 28 teeth, you’ll have the 50x11 as the highest gear and the 34x28 as the lowest gear.
How to put gears on your bike: a step-by-step guide
After this insight into the relevant information about a mountain bike’s gear system, it’s time to ask the following question: how do you put gears on the bike?
To answer this question, we’ve put together a short step-by-step guide that’s very easy to follow:
Step 1: To start your journey, engage a low gear by moving the left-hand handle lever to a smaller platter and the right-hand handle lever to a larger sprocket;
Step 2: Gradually increase the running speed by moving the right-hand lever to a smaller sprocket;
Step 3: Don’t switch gears suddenly, as this will cause you to have to expend more effort immediately, which is not good for your joints;
Step 4: If the terrain becomes steeper or you want a lighter ride, you should move the lever on the left to a smaller plate and the lever on the right (the sprocket) to a larger sprocket.
In this case, the pedal strokes will be shorter, so you won’t have to travel a long distance between strokes.
If you want a stronger pedal stroke that allows you to gain more speed, do the reverse process, i.e. move the left-hand lever to a larger plate and the right-hand lever to a smaller sprocket.
Step 5: Avoid having the tallest gear engaged on the chainring and the smallest gear (largest sprocket) engaged on the sprocket at the same time, as this can result in greater wear on the chain and even breakage, which will leave you stranded.
Although Walking Tours Portugaloffers excellent walking tours, if you’re taking your bike out for a spin, it’s important to bear this last tip in mind.
